A video and photographic log of sailing.
Now building a Class Globe 5.80
From dreaming of sailing, to dream sailing. I have built boats, sailed boats and read about boats. My other passion is photography. There are possibly too many sailing & photography blogs already, so one more can't hurt… Now I'm building a Class Globe 5.80.
Thoughts of glassing the hull with two layers of 600 haunted me for ages, not fully knowing how to do it and having to do it on my own. Then I discovered peel ply !
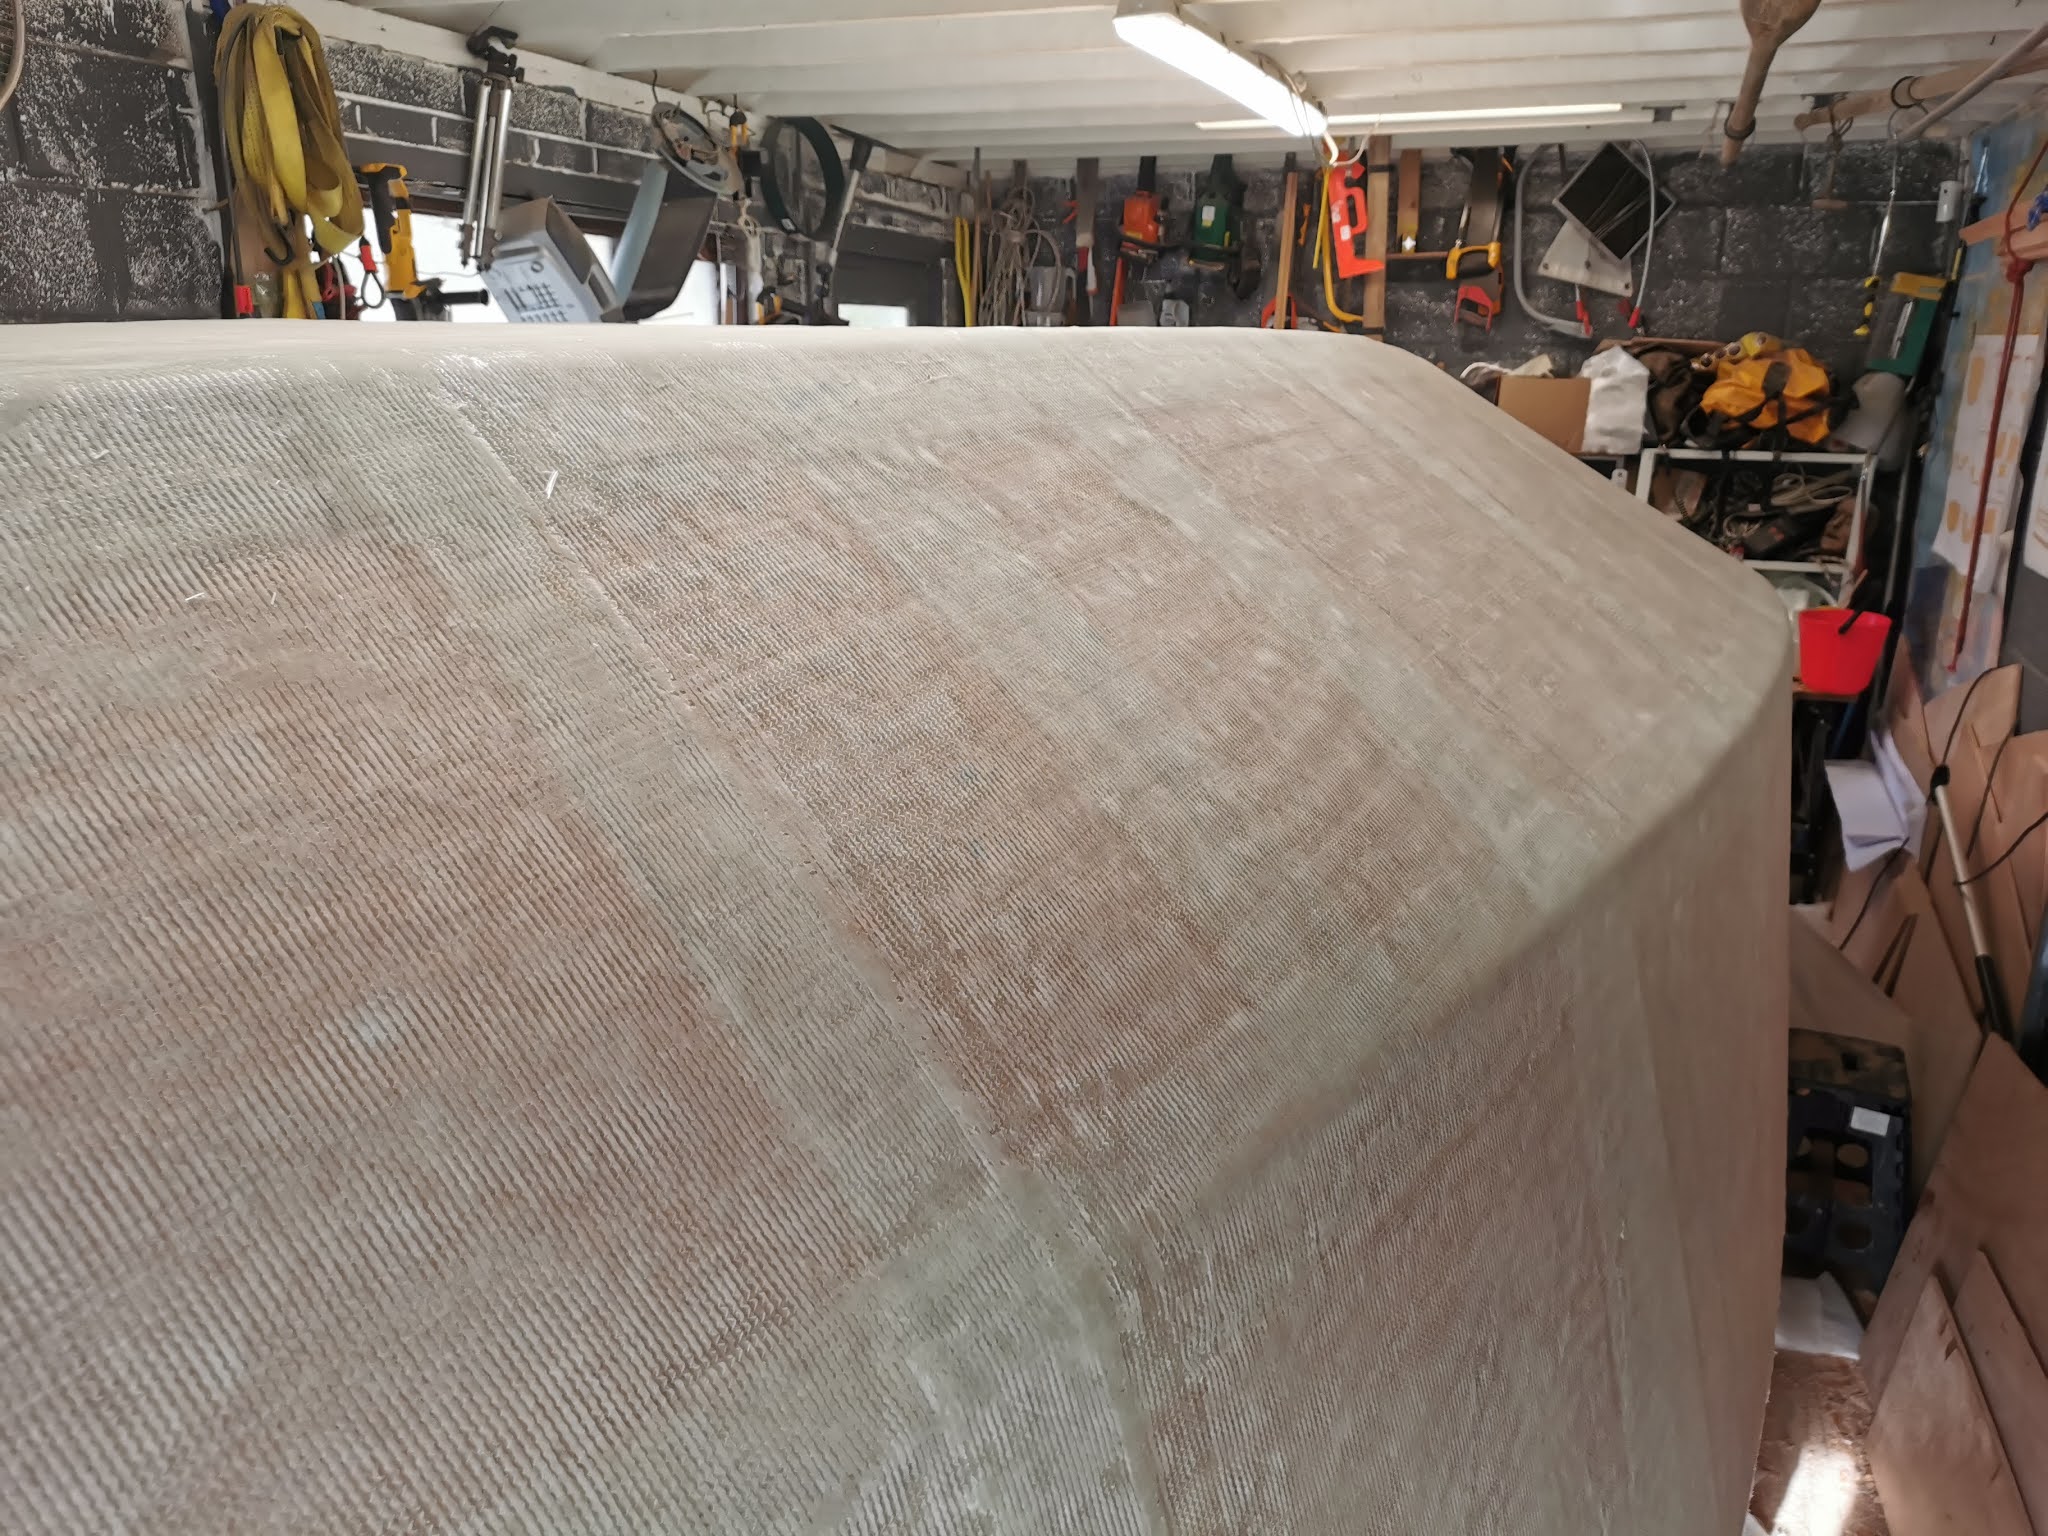
I decided to glass the hull in glass cloth widths, one day at a time. Transom was first, then each piece laid across the hull, overlapping by about 100mm. While each piece was wet, I pressed on peel ply. The whole boat was covered, then a second layer overlapping the first layer, like bricks in a wall.
Below are photos of the process.
The best decision I made was hiring a professional plasterer to apply the epoxy and filler layers. First half was done by lunch, I was mixing and Kevin, the plasterer, applying the mix. Second half after lunch and then I faired for two days ! Then another, thinner layer was applied and faired again.
Before turning the hull, the waterline and center line were drawn. I also made a rough template for a cradle.
I made a copy of the skeg template from stiff insulation and shaped it with a wood file. The covered with 600 gm cloth and the insulation broken out.
After what seems years of bending, planing and sanding, the hull is planked and ready to apply the layers of fiberglass. Each plank was dry-fitted several times, then epoxy applied to the relevant areas to wet them out. Then filler was plastered on and the plywood screwed into place.
The transom was fitted first, as the side planks went over it. My sequence was transom, side pieces and chine planks. I decided to put the chines on before the bottom because it was easier for me. I had less critical fitting because any overlap was planed off to make a perfect angle for the next piece. Also, I could clamp the chine onto the bottom stringer and did not use screws. This allowed me to plane without worrying about screws in the way.
Each butt block was then added to each piece after it was glued in place and I started the process for the next piece. I used screws as stoppers for some of the pieces, to know the limits of position. My electric planer filled the shed with sawdust but was an incredible time-saver. Also, planers do not like stainless steel screws !
Bending the bow pieces was exciting. I was waiting for the plywood to crack every time I bent it over the frame. But the finished double bend was beautiful to look at, which I did for ages !
I found after a few dry fittings, the bow planks took a little shape from the frames but it's best to bend everything slowly. I broke two plastic clamps on the bow because of the outward pressure and had to use 35mm screws to ensure holding before the epoxy set.
Everything was planed level with the bottom stringer, for the bottom. It was messy to fillet all the oak keel pieces and other bottom pieces when the bottom went on. Then that was planed all around and the second bottom piece put on, again lots of epoxy and filler. I moved slowly from the transom towards the bow and used little screws to ensure as tight a fit as possible between the bottom planks.
Rounding the bow was a little scary as I knew I could only take wood off and not put it on again, just like a sculpture.
Here is a sequence of pictures that I hope illustrate the process.
The pencil lines and screws below the piece were useful for lining things up when you're under pressure to get the plank on and lined up quickly.
I had to cut this hole through D1 to allow access to the forepeak.
All was planed flat and the position of the keel pieces marked to give a line for screws.
I put a blob of epoxy, mixed with sawdust, to fill a gap on the very top of the bottom !
I still marvel that plywood can be bent in two directions to give such a beautiful curve towards the bow.
Two bottom layers of plywood cap it all off. Planed and sanded and ready for glass.